

How to set up Kubernetes, Google’s open-source container management system, on AWS
Overview
Kubernetes is a popular choice for cloud-native application development because it offers scalability and resilience, provides container orchestration, and hosts an environment that can be used to deploy cloud-native applications. Some of the tools that can be found in a Kubernetes environment include Grafana, Prometheus, Istio, and others. This article discusses Kubernetes, how it is hosted on AWS, and how it can effectively deploy containerized applications.
What is Kubernetes?
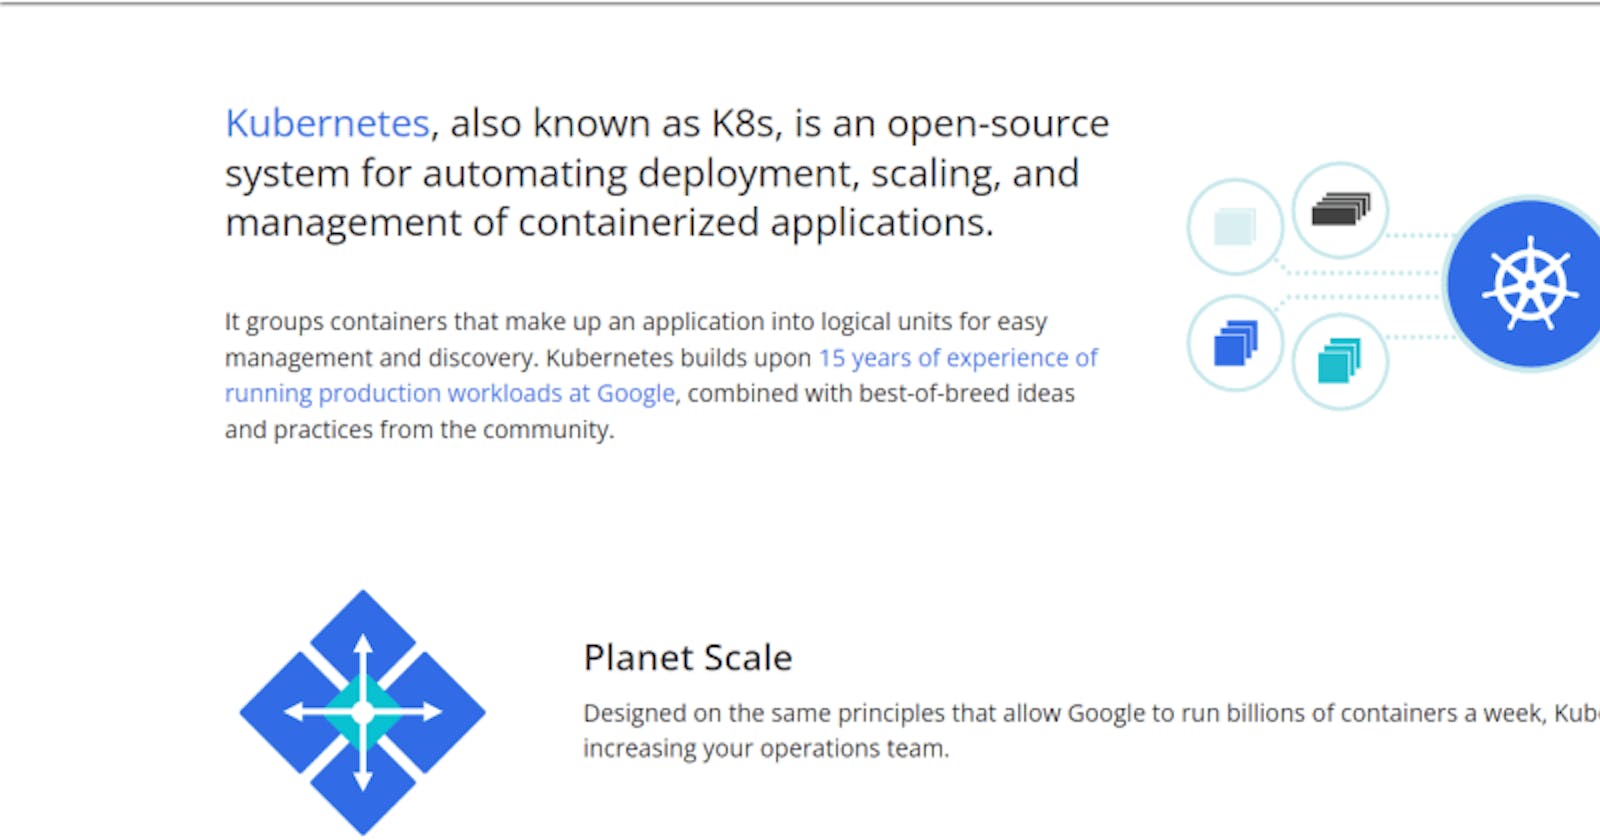
 Kubernetes is an open-source platform that is used for the automation and management of containerized software applications. It allows developers to deploy applications on multiple servers without worrying about the underlying infrastructure. It is owned by Google and was created in 2014 with the aim of managing cloud applications. It is currently maintained by the Cloud Native Computing Foundation (CNCF).
Cloud platforms are various providers with both the hardware and operating system of web-based data centers. These cloud platforms are of different types and range from private servers to public cloud platforms, which are third-party providers. Examples of public cloud platforms are AWS, GCP, Microsoft Azure, and Digital Ocean.
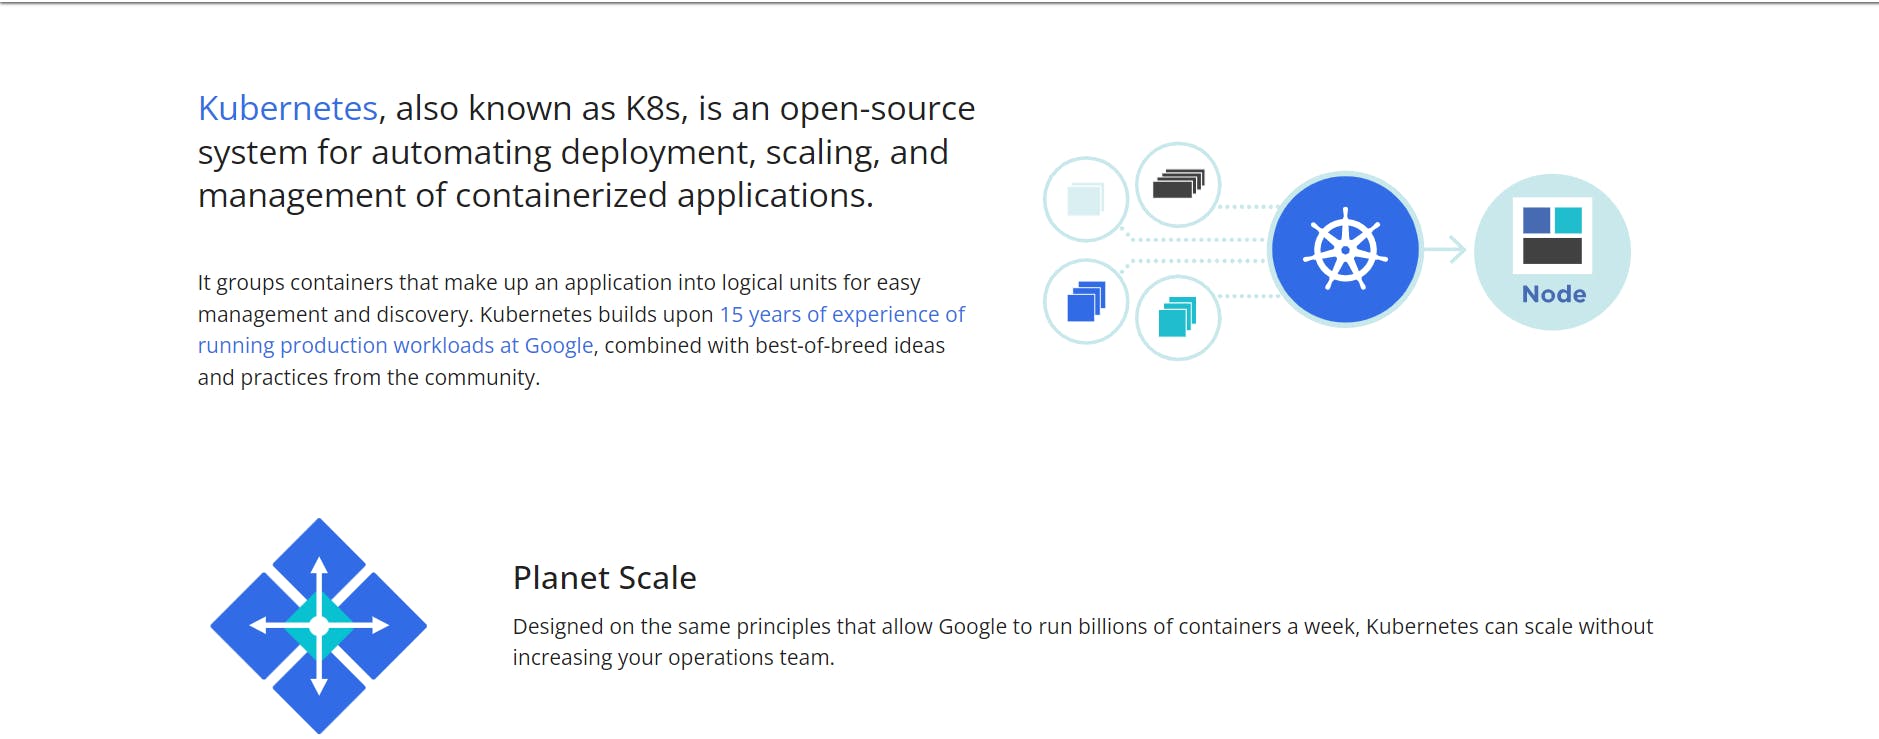
Kubernetes is an open-source platform that is used for the automation and management of containerized software applications. It allows developers to deploy applications on multiple servers without worrying about the underlying infrastructure. It is owned by Google and was created in 2014 with the aim of managing cloud applications. It is currently maintained by the Cloud Native Computing Foundation (CNCF).
Cloud platforms are various providers with both the hardware and operating system of web-based data centers. These cloud platforms are of different types and range from private servers to public cloud platforms, which are third-party providers. Examples of public cloud platforms are AWS, GCP, Microsoft Azure, and Digital Ocean.
Kubernetes Architecture
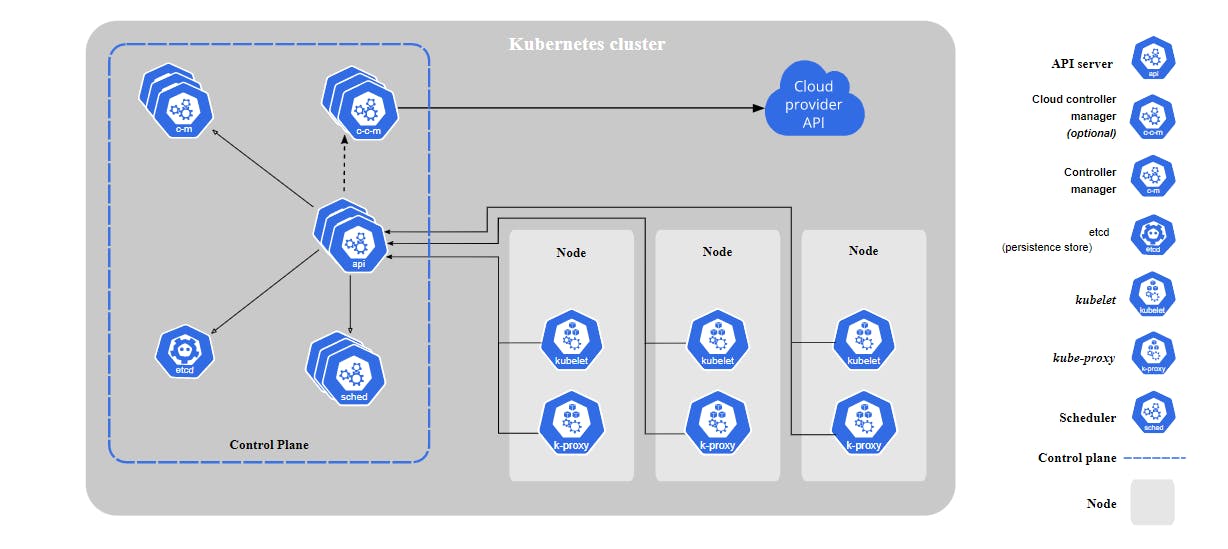 Kubernetes architecture consists of the master plane, the nodes, and a distributed storage system, which are clusters.
These are common terms found in Kubernetes architecture.
Kubernetes architecture consists of the master plane, the nodes, and a distributed storage system, which are clusters.
These are common terms found in Kubernetes architecture.
Node: A node is a worker machine in Kubernetes. There are master nodes and worker nodes. Master nodes are in charge of managing clusters, while worker nodes host the pods, which host the set of running containers in a cluster. A node is made up of a kubelet, kube proxy, and container runtime.
Cluster: A cluster is made up of nodes that manage containerized applications. A minimum of one worker node can be found in a cluster. When Kubernetes is deployed, a cluster is formed
Pod: A pod is a set of running containers in a cluster. It is the smallest deployable unit in Kubernetes.
Components of Kubernetes Architecture
The following are components that make up complete and healthy Kubernetes clusters.
Master Node
The master node consists of the following sub-components.
Kubectl: The kubectl controls the Kubernetes cluster manager. It is a command line tool.
Kube API server: This is the front-end section of the master plane that controls the API server. It is designed to deploy several instances and manage their traffic.
Etcd: etcd represents the space where all cluster data and Kubernetes objects are stored, on a snapshot file. Safe practices while using etcd are periodic backup and encryption of snapshot files. Backup plans while using etcd include the use of etcd built-in snapshot or volume snapshot.
Kube scheduler: The kube scheduler takes newly created pods and assigns nodes to them. For scheduling to take place, data locality, deadlines, and software and hardware policies are considered, amongst other factors.
Kube controller manager: A controller is a control loop that watches shared clusters through the API server and attempts to move them to their desired state. The controller manager runs controller processes. Typically, each controller is a separate process, but they are piled together to run as a single process. The various types of controllers include node controller, serviceaccount controller, job controller, and endpointslice controller.
Worker Nodes
The worker or slave nodes are composed of the following sub-components.
Kubelet: A kubelet is an agent that runs on each node in a cluster. Pod: This is a container controlled by a single application that manages the operation of containers.
Docker: Docker is a containerization platform that runs the configured pods. It operates by running containers from Docker images.
Kube proxy: It is a network proxy that runs on the worker nodes in a cluster.
Benefits of Kubernetes Architecture
The following are the benefits of Kubernetes' architecture.
Scalability: Kubernetes architecture is structured to accommodate scalability. This means that containers can be created and used according to the demand for resources.
Security: Security is prioritized on Kubernetes by isolating containerized applications and encrypting sensitive files such as Kubernetes states and snapshot files. There is also encrypted communication among its components.
Automation: All tasks that take place are automated. This increases the effectiveness and efficiency of working teams.
Flexibility and resilience: The architecture permits custom configuration according to the specific needs of a user, with the integration of available tools and processes. It is also resilient and can withstand high traffic.
Resource management: Resource usage is optimized as containers are automatically scheduled on available nodes in a cluster.
Kubernetes on Cloud Platforms
As we know, Kubernetes is hosted on cloud platforms. It is also used to manage containerized applications. Let us look at how it is set up on Amazon Web Services (AWS), a public cloud platform.
Kubernetes on Amazon Web Services (AWS)
In order to set up Kubernetes on Amazon Web Services (AWS), you need to set up an account.
The next step is to create an EC2 instance.
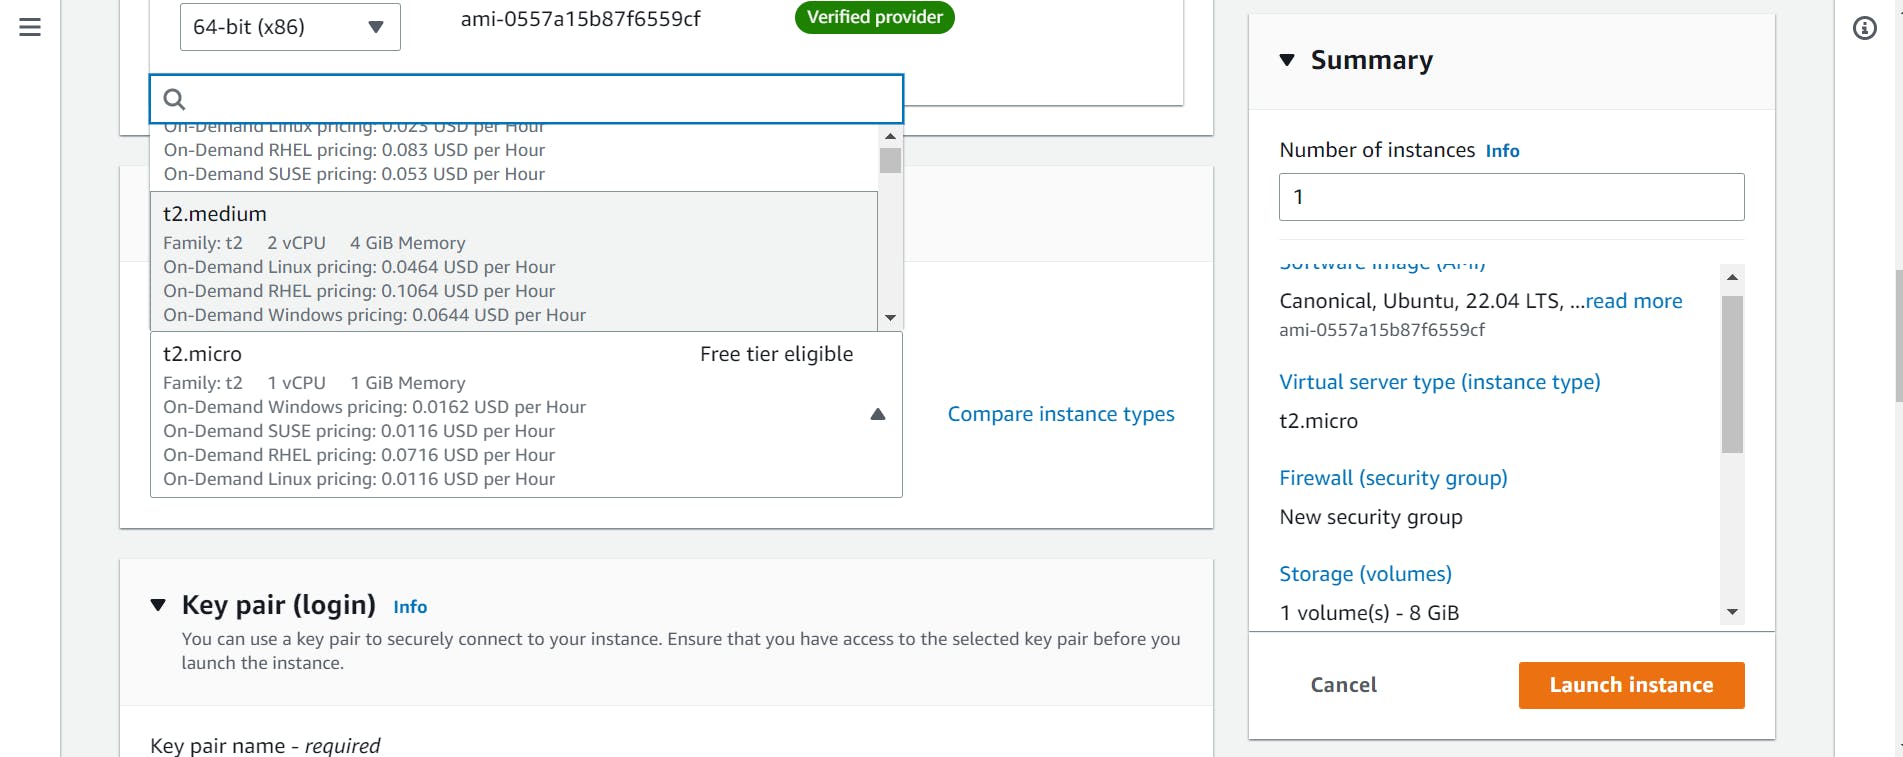 Give the instance a name of your choice, and change its instance type to t2.medium.
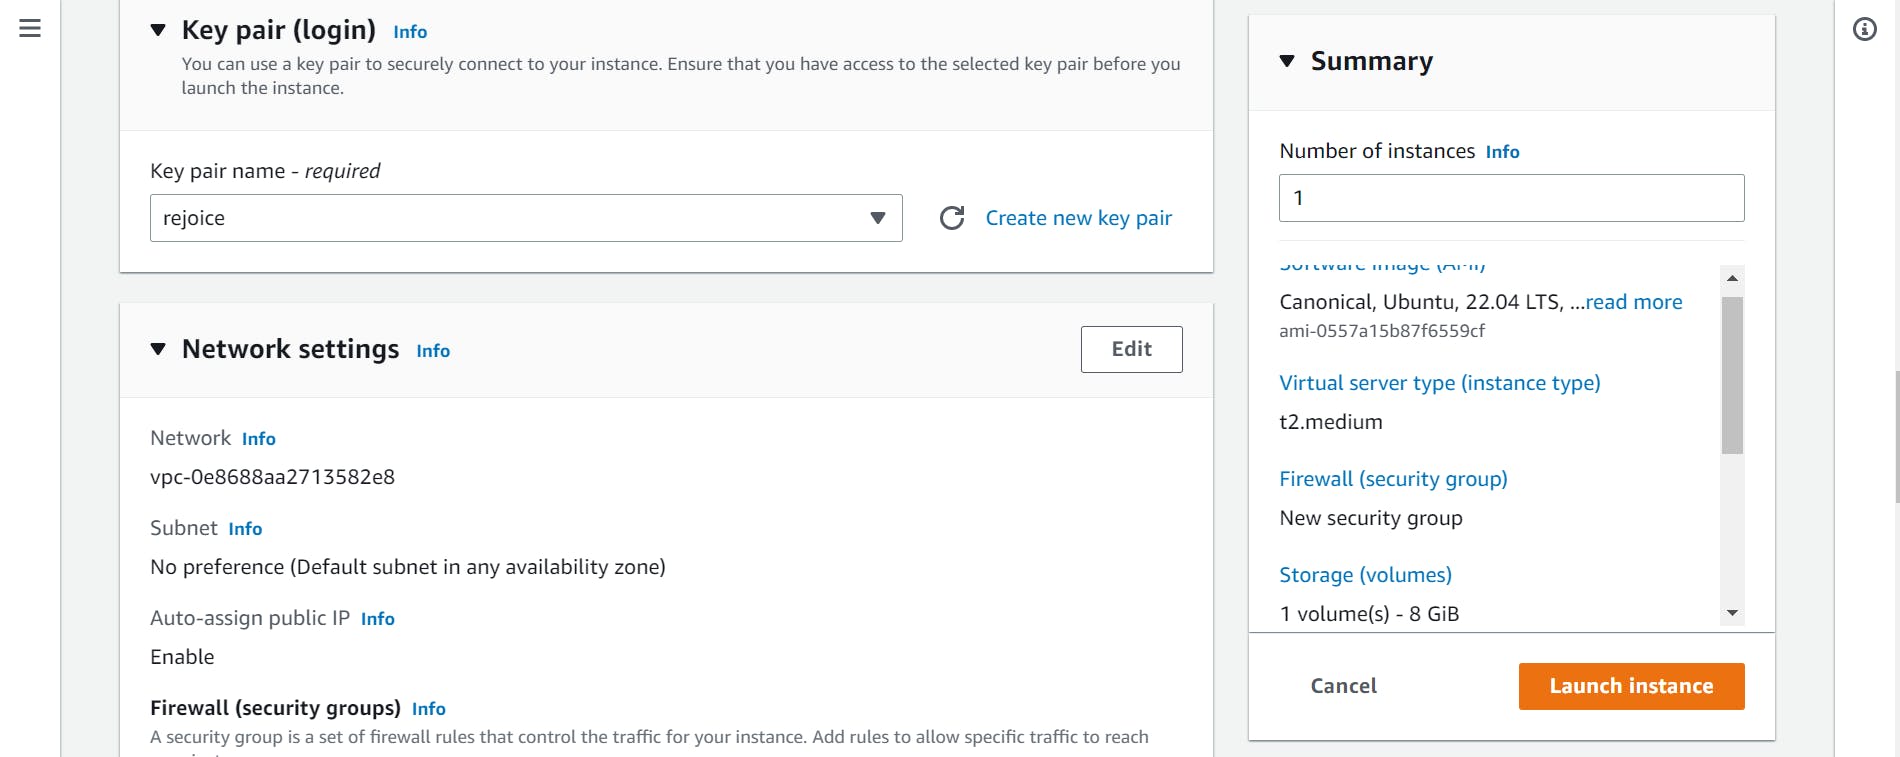
Choose a key pair, or create a new key pair.
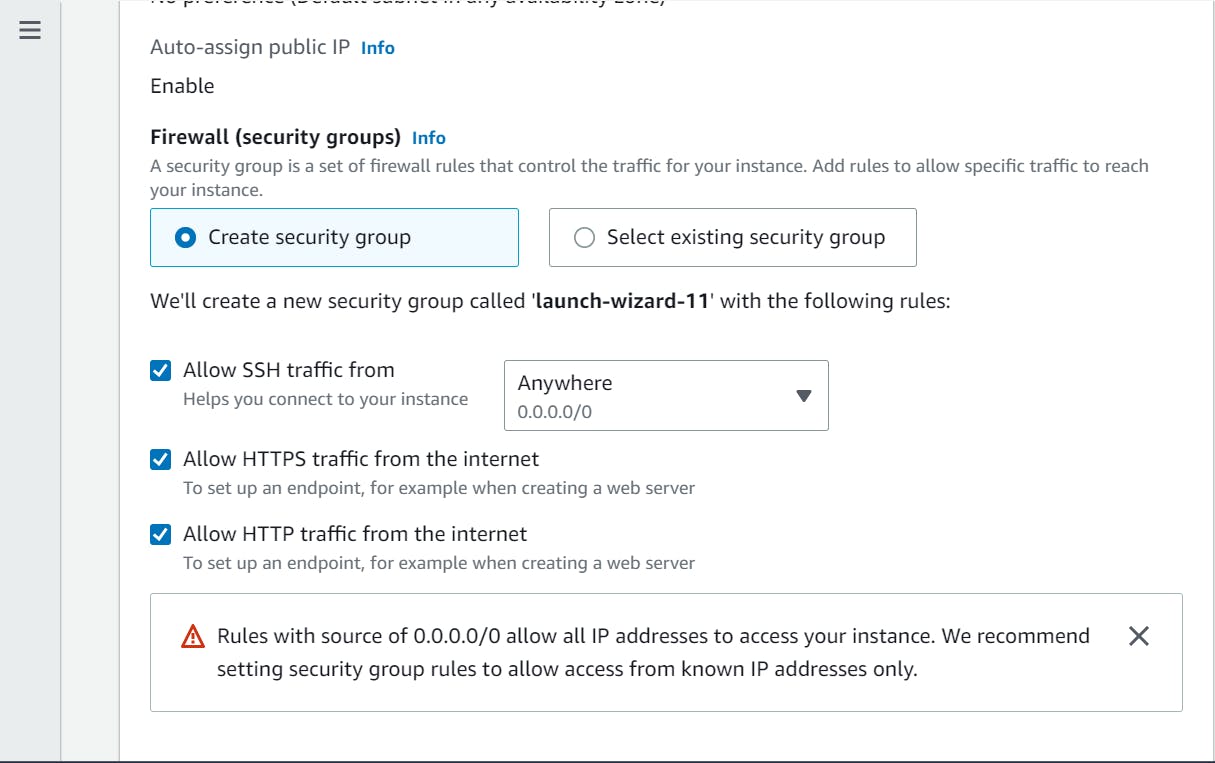
For network settings, leave them as default, but allow HTTP and HTTPS traffic from the internet. Leave the Configure Storage section as it is.
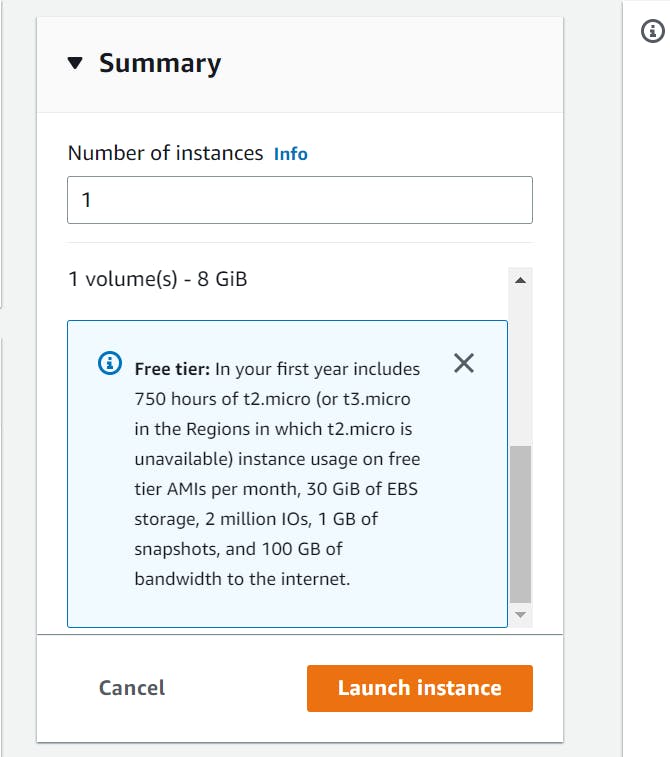 Proceed to launch the instance.
 The instance has been successfully created.
 Proceed to view the instance created, and click on the checkbox on the left to select it.
At the top of the page, there is a button that says "Connect." Click on it.
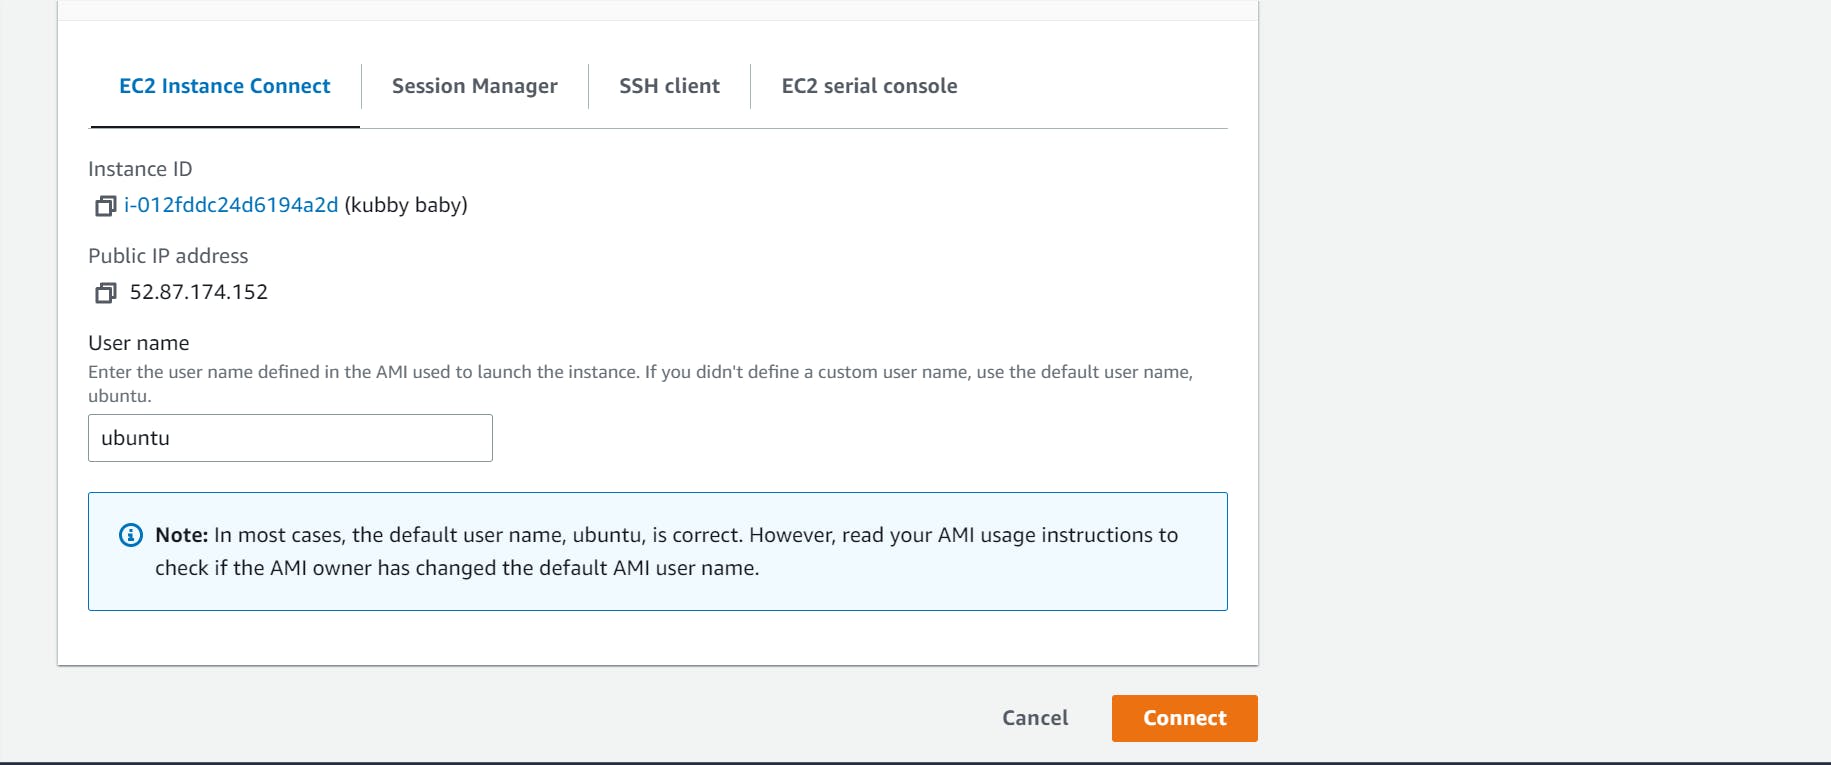 There are four options for connecting an instance. This article uses EC2 instance connect. Click on it and connect.
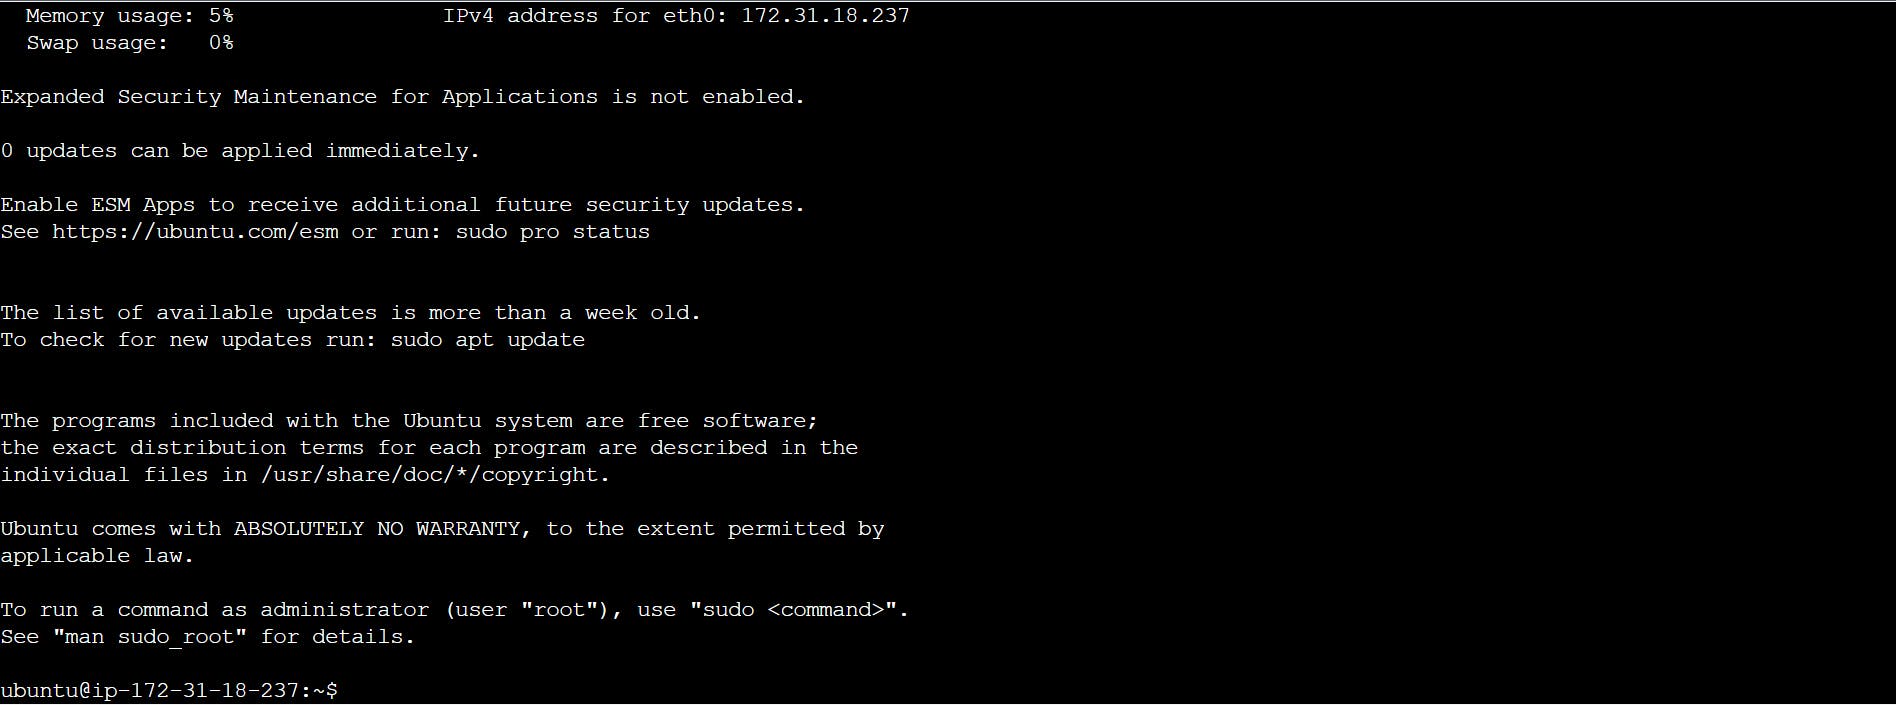
It automatically opens a command line interface. Clear the introductory messages to have a clear workspace.
 This article makes use of commands embedded in custom shell scripts that enable the installation of required tools, such as Docker, minikube, and kubectl, and their dependencies.
This is a faster method, as it saves time and resources.
This article makes use of commands embedded in custom shell scripts that enable the installation of required tools, such as Docker, minikube, and kubectl, and their dependencies.
This is a faster method, as it saves time and resources.
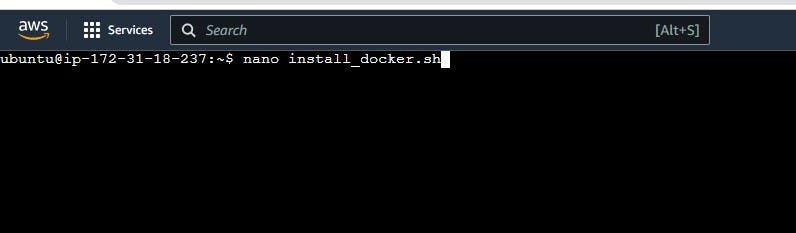
The next step is to create a shell script using nano.
nano install_docker.sh
 After that, add these commands to the file and save the changes made. This installs Docker.
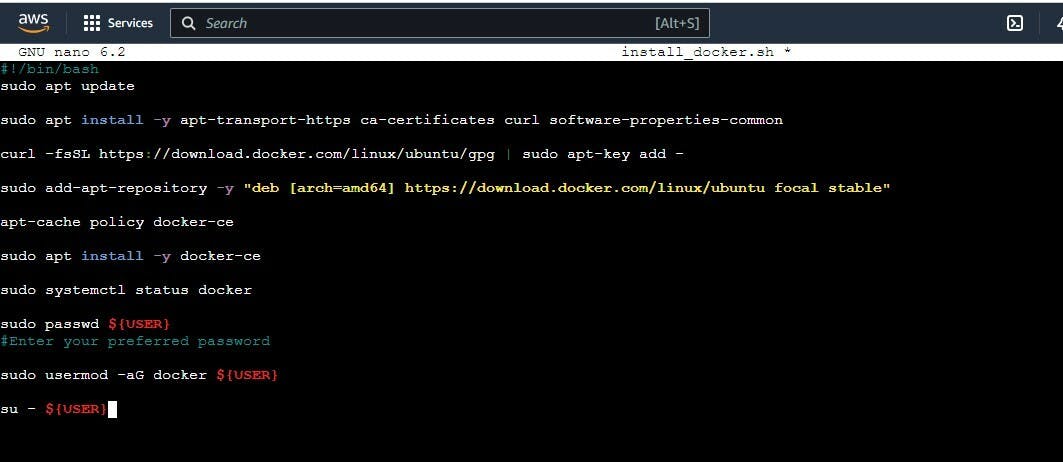
#!/bin/bash
sudo apt update

sudo apt install -y apt-transport-https ca-certificates curl software-properties-common

curl -fsSL https://download.docker.com/linux/ubuntu/gpg | sudo apt-key add -

sudo add-apt-repository -y "deb [arch=amd64] https://download.docker.com/linux/ubuntu focal stable"

apt-cache policy docker-ce

sudo apt install -y docker-ce

sudo systemctl status docker

sudo passwd ${USER}
#Enter your preferred password

sudo usermod -aG docker ${USER}

su - ${USER}
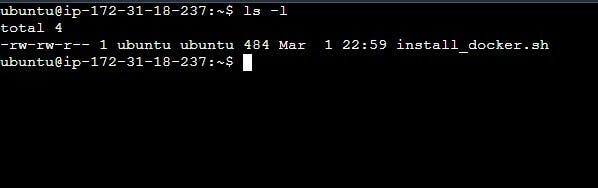
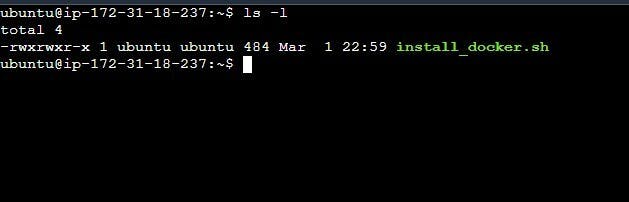
After that, run chmod +x install_docker.sh to make it an executable file.
Use ls -l to view the changes made to the files. When a file is green, as shown below, it means that it is executable.
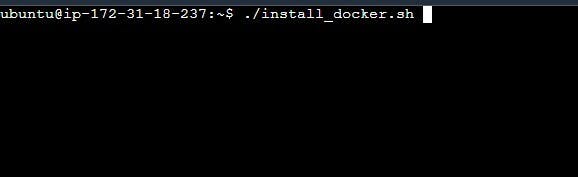
 Run
Run ./install_docker.sh for dependencies.
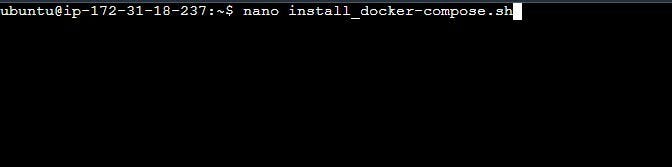
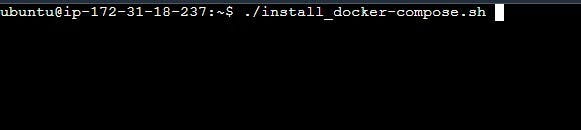
 The next step is to install docker-compose.
Run
The next step is to install docker-compose.
Run nano install_docker-compose.sh on the CLI.
 The commands embedded in the script are as follows:
#!/bin/bash

groups

sudo curl -L "https://github.com/docker/compose/releases/download/1.29.2/docker-compose-$(uname -s)-$(uname -m)" -o /usr/local/bin/docker-compose

sudo chmod +x /usr/local/bin/docker-compose

docker-compose --version
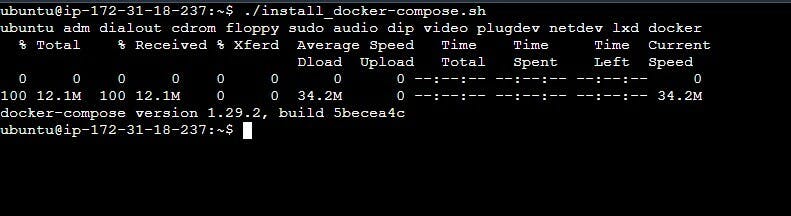
 Save the script, and run
 chmod +x docker-compose.sh.
This makes the file executable.
 The command
 ./install_docker-compose.sh installs the dependencies docker-compose needs to run.
 This is the output.
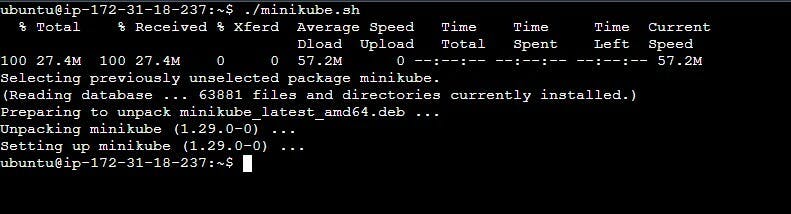
 After we have installed Docker, docker-compose and their dependencies, the next step is to install minikube. Minikube is allows single node Kubernetes clusters to run on your local machine. It also manages its components, ensuring that they are integrated and functioning properly.
To install minikube, run:
After we have installed Docker, docker-compose and their dependencies, the next step is to install minikube. Minikube is allows single node Kubernetes clusters to run on your local machine. It also manages its components, ensuring that they are integrated and functioning properly.
To install minikube, run: nano minikube.sh or nano install minikube.sh
 Store the following commands in the script;
#!/bin/bash
curl -LO https://storage.googleapis.com/minikube/releases/latest/minikube_latest_amd64.deb
sudo dpkg -i minikube_latest_amd64.deb
 Save the file and run
 chmod +x minikube.sh to make the file executable.
./minikube.sh to install minikube’s dependencies.
 This is the output.
 After minikube has been installed, the next step is to install kubectl.
nano kubectl.sh
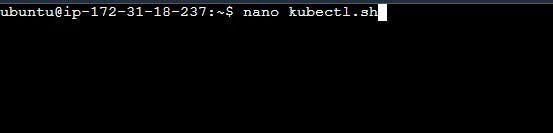
Store the following command in the shell script :
#!/bin/bash

sudo snap install kubectl --classic
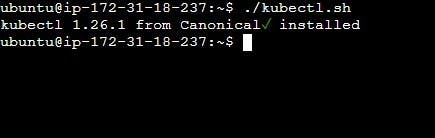
 Run
Run chmod +x kubectl.shl to make the file executable.
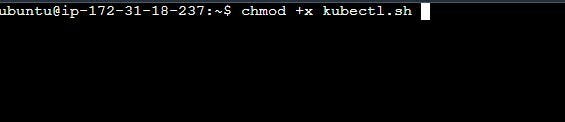
./kubectl.sh to install its dependencies.
 This is the output.
 Now that you are done with the installation process, go ahead to start minikube.
minikube start
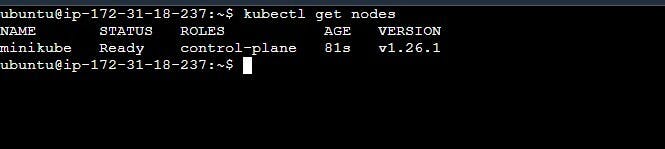
 This goes ahead to create a single cluster, as seen below.
kubectl get nodes is a command used on the Kubernetes CLI to show information about the worker nodes in a cluster. As you can see, a single worker node exists on the control plane.
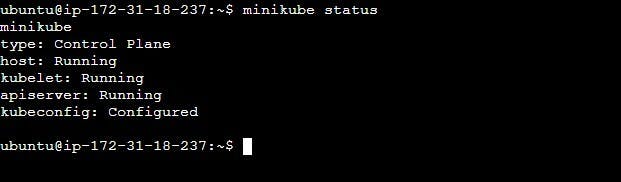
 To see the status of your cluster, run
 minikube status.
 Now, you have successfully created a Kubernetes cluster on AWS using an EC2 instance. You can go ahead and containerize and deploy applications.
Kubernetes on AWS Use Cases
- Kubernetes is used on DevOps workflows to automate the software development process.
- It provides readily available clusters that can be scaled up or down according to the user’s needs.
- It is used to manage applications in hybrid cloud environments, ensuring consistency.
- It encourages continuous delivery by providing a favorable environment for automated testing, building, and deployment.
Benefits of Kubernetes on AWS
- Kubernetes on AWS is cost-effective, allowing organizations to automate the development of their products according to their budget.
- It reduces the manual effort that is associated with traditional software development models.
- Kubernetes on AWS minimizes downtime cases.
- It allows scalability, another cost tolerance effect.
Drawbacks of Kubernetes on AWS
- Security challenges may arise from misconfigurations or vulnerabilities in container images and their underlying infrastructure.
- Organizations that use Kubernetes on AWS find it to migrate to other cloud platforms, which leads to vendor lock-in. This is because AWS is a proprietary platform.
- Kubernetes is a complex tool and cannot be used properly without the right skill set.
- Hiring skilled professionals to manage these tools can be quite expensive.
Best Practices for Running Kubernetes on Cloud Platforms
Cost Optimization
Cost optimization is essential when running Kubernetes on cloud platforms. Due to excessive resource usage and inefficient application deployment, Kubernetes can incur unwanted costs despite its benefits as a container orchestration tool. Cost optimization can be achieved by right-sizing clusters, autoscaling, and making proper resource allocations. Using container registries can reduce container images; serverless computing helps with scalability; spot instances can make clusters function with reduced costs.
Security
Security when containerizing and deploying applications is a necessary step. It ensures the safety of applications, infrastructure, and data. Keeping your Kubernetes architecture secure is important because it is a complex machine with isolated, mobile parts, and because it is often run on public cloud platforms with multiple users accessing it. Security on Kubernetes's architecture can be implemented by the use of firewalls, network segmentation, and container image scanning tools. All of these can identify unusual activity and block security breaches. Using secure communication protocols like HTTPS enforces encryption and prevents data interception.
Scalability
It is imperative to enforce scalability in order to deploy applications across many hosts efficiently. This can be done by designing applications that can scale easily and using Kubernetes operators. Other scalability measures include adding more Kubernetes clusters to manage loads (horizontal scaling), and autoscaling; automatic adjustment of containers in a cluster according to the users’ needs.
Conclusion
Kubernetes is a lightweight tool with a unique architecture that can be used to automate the software development process. Organizations that employ its use witness a drastic improvement in their application development projects. Although there are drawbacks, it benefits greatly outweigh them. To know more about Kubernetes on AWS, check out the official documentation.